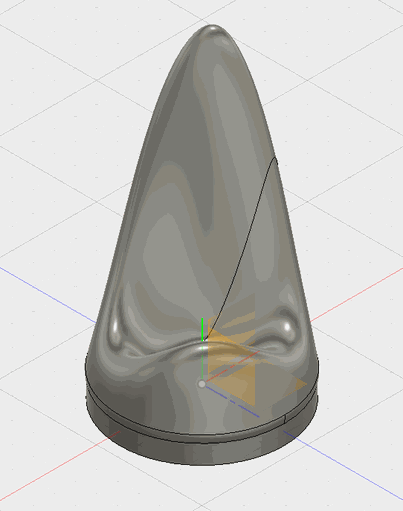
Step 1 - Design
Create your design in a 3D software of your choice and then export your 3D CAD model in the file format .STL, .DXF, .3DM or .IGS / .IGES.
Alternatively: we help you to develop 3D concepts and models (Autodesk Fusion 360, Blender, etc.) Create your design in a 3D software of your choice and then export your 3D CAD model in the file format .STL, .DXF , .3DM or .IGS / .IGES.
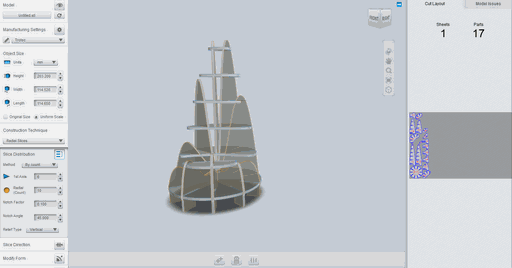
Step 2 - "Slicing"
The next step in preparing your model is to choose your design technique. There are five ways you can split your model that are suitable for laser cutting:
Stacked slices - With this method, the sheets are laid flat on top of each other to create the shape. You can add dowels that penetrate the layers to hold them together and keep everything aligned. We recommend the Horizontal or Vertical option. In this way, the bars that penetrate the discs are added to the cut. This is particularly well suited for acrylic stacks as it is unlikely that you will have perfect sized acrylic dowels lying around.
Interlocked Slices - This method creates two batches of slices that are separated from each other. You can control the number of cuts on each axis and the angle at which each axis is oriented relative to the model. A simple shape can become very abstract if the axes are placed at odd angles.
Curve - Very similar to interlocking layers, except that the plane of the intersecting slices can be curved.
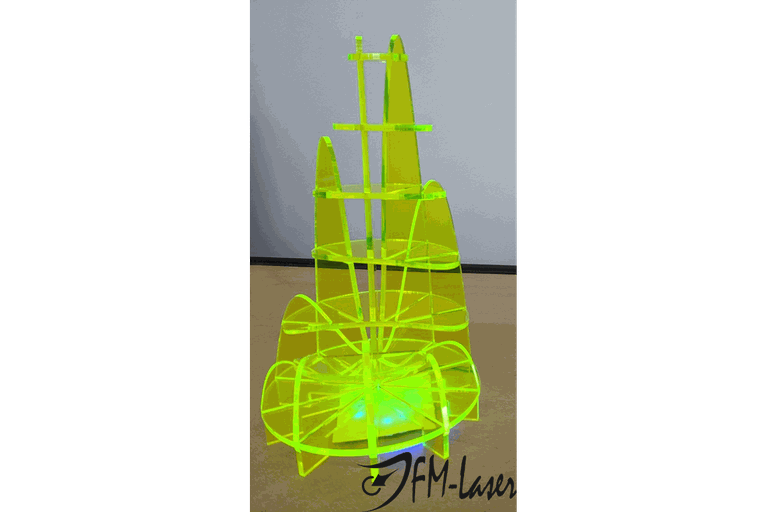
Radial disks - radial disks form interlocking disks that start from a central point. The center and angle of the axis can be moved to change the shape.
Folded panels - This method works best for models with sharp edges instead of curves. You need to use a flexible material such as cardboard or thick paper. It transforms the model into a foldable form and places it flat on the work bed. You can control elements such as the number of layers, add perforations to the bends, and more!
Step 3 - Laser
When you are satisfied with the model you created with the slicer, you can export it. With Slicer you can export to EPS, PDF and DXF. Slicer adds alignment marks and annotates all parts with numbers to make construction easier. If you want the numbers and markings to be visible, you can remove them. This must be done in vector editing software like Inkscape. The cut lines are blue by default. So if you select by color and then delete all the red lines, you can quickly remove most of the markings. Slicer does a pretty good job of positioning the different parts close together, but sometimes they can be moved much closer. Inkscape is also a good program for repositioning the different parts.
Now all you have to do is cut out and assemble your design! Slicer includes an animator that visualizes the assembly steps of your final model. Your finished design should be ready for most laser cutter software! If you want to use our laser cutting service, change the line color of all your cutting lines to red and set the line width to 0.01 mm. Change all engraved lines to black and all etching lines to blue and 0.01 mm. If you keep the numbers on the squares, make them blue and the edges red.