Since metal, glass, and ceramics are different beasts when it comes to laser engraving, we'd like to use this blog for tips and tricks on how to mark up and get the best results.
Before we get into the differences, let's first note the constants under each of them:
Always use uncoated material
Always optimize your settings for the respective material
When optimizing your settings, only change the speed from one test run to the next. Performance and resolution should remain the same throughout all test runs. (For a detailed example of optimizing your settings on metal, see https://enduramark.com/blog/optimizing-your-laser ...
Now to the differences, starting with metal.
Marking on metal
Laser settings
When marking on metal, it is generally best to operate the laser with 300 dpi and high power and slow speed.
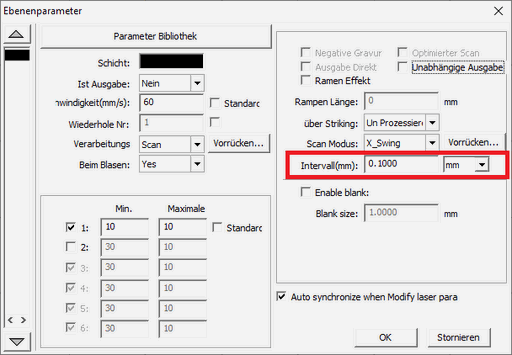
In RDWorks, you can set the resolution of 300 dpi by opening the Layer Settings window and typing 0.085 mm in the Interval (mm) field.
Application of the marking spray
It is best to apply a thin layer of marking material to metals.
Always on the side too slowly err
The safest way to make mistakes when marking on metal is to run the laser too fast. You will know that your speed is too high if your brand is not durable and dissolves. On the other hand, there is very little potential for durability problems if you run your laser too slowly. We therefore recommend that you start at very slow speeds and then work your way up from there until you find the optimal speed.
Let your laser run with 300 dpi with a few exceptions
With only a few exceptions below, it is generally best to operate your laser at 300 dpi, as you don't take advantage of running it higher. The exceptions are:
If you have a lower power laser (less than 30 watts), you get more durable markings when you add extra heat to the metal by operating your laser at 600 dpi
Operating your laser at 600 dpi or higher will result better for hard-to-mark metals such as aluminum and copper
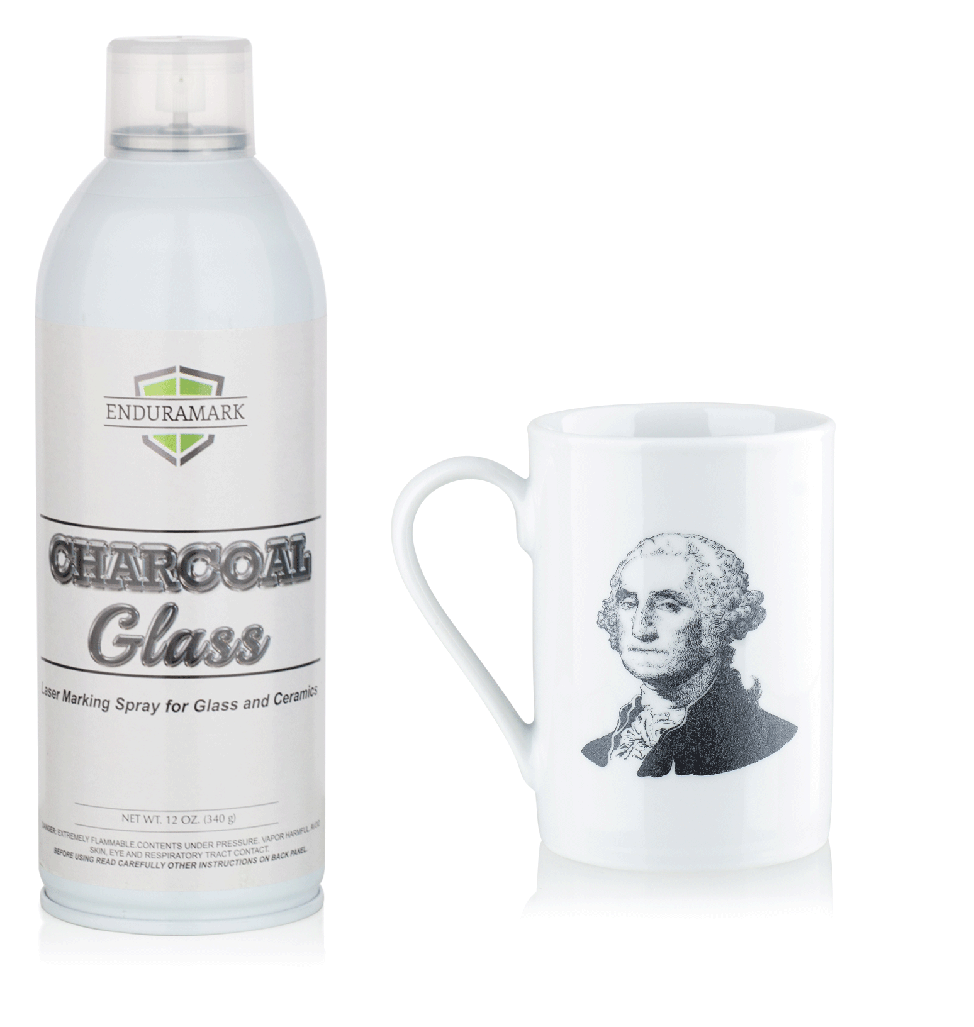
Marking on glass
Laser settings
When you mark on glass, it is generally best to operate your laser at 600 dpi with high power and high speed.
In RDWorks, you can set the resolution of 300 dpi by opening the plane settings window and typing 0.085 mm in the Interval (mm) field.
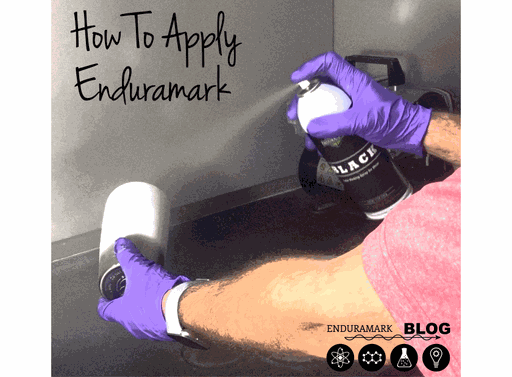
Application of the marking spray
It is best to apply a thick layer of marking material to glass.

Fast driving
Run your laser at the faster end of the speed settings spectrum
If you let your laser run too slowly, the glass can tear or break and lift the mark off the glass surface. However, if you run your laser too fast, the marking can rub off. Since our glass marking material works in a wide range of speeds, optimizing your settings on glass is generally a very forgiving process.
Let your laser run with 600 dpi
We recommend that you operate your laser with 600 dpi for glass, as the marking may appear speckled or brighter at 300 dpi.
Specific points to consider when optimizing your settings
For lasers with a power of 20 to 75 watts, we recommend that you operate your laser with 100% power and find the optimal speed that works best with the performance of your particular laser.
For lasers with a power of 80 watts or more, we recommend reducing power to achieve 75 watts of power. (For example, you would operate a 100-watt laser with 75% power)
Marking on ceramics
Laser settings
When marking on ceramics, it is generally best to operate the laser at 600 dpi at high power and medium speed.
In RDWorks, you can set the resolution of 600 dpi by opening the plane settings window and typing 0.043 mm in the Interval (mm) field.
Application of the marking spray
It is best to apply a thick layer of marking material to ceramics.
Guide your laser to the center of the range of speed settings
Although this is less common than with glass, slow operation of the laser with ceramics can lead to cracks in the ceramic. When cracks occur, the marking can stand out from the ceramic surface or cause a notch. As with glass, the marking can rub off even when the laser is too fast. But also like glass, ceramics are marked in a wide range of settings, so that optimization is generally forgiving and uncomplicated.
Let your laser run with 600 dpi
We recommend that you operate your laser with 600 dpi for ceramics, as the marking may appear speckled or brighter at 300 dpi.
Optimize your settings
For all lasers in the range of 20 to 125 watts, we recommend that you operate your laser with 90% power and find the optimal speed that works best with the performance of your special laser.
result
If you become familiar with the optimal laser settings for each material, each job runs smoothly and the markings are attractive and durable.
The following table provides a short reference for the general settings required for each material:
